Timeline
Warning
Timeline actually works only with WMTS-Multidim extension (WMS time in capabilities is not fully supported).
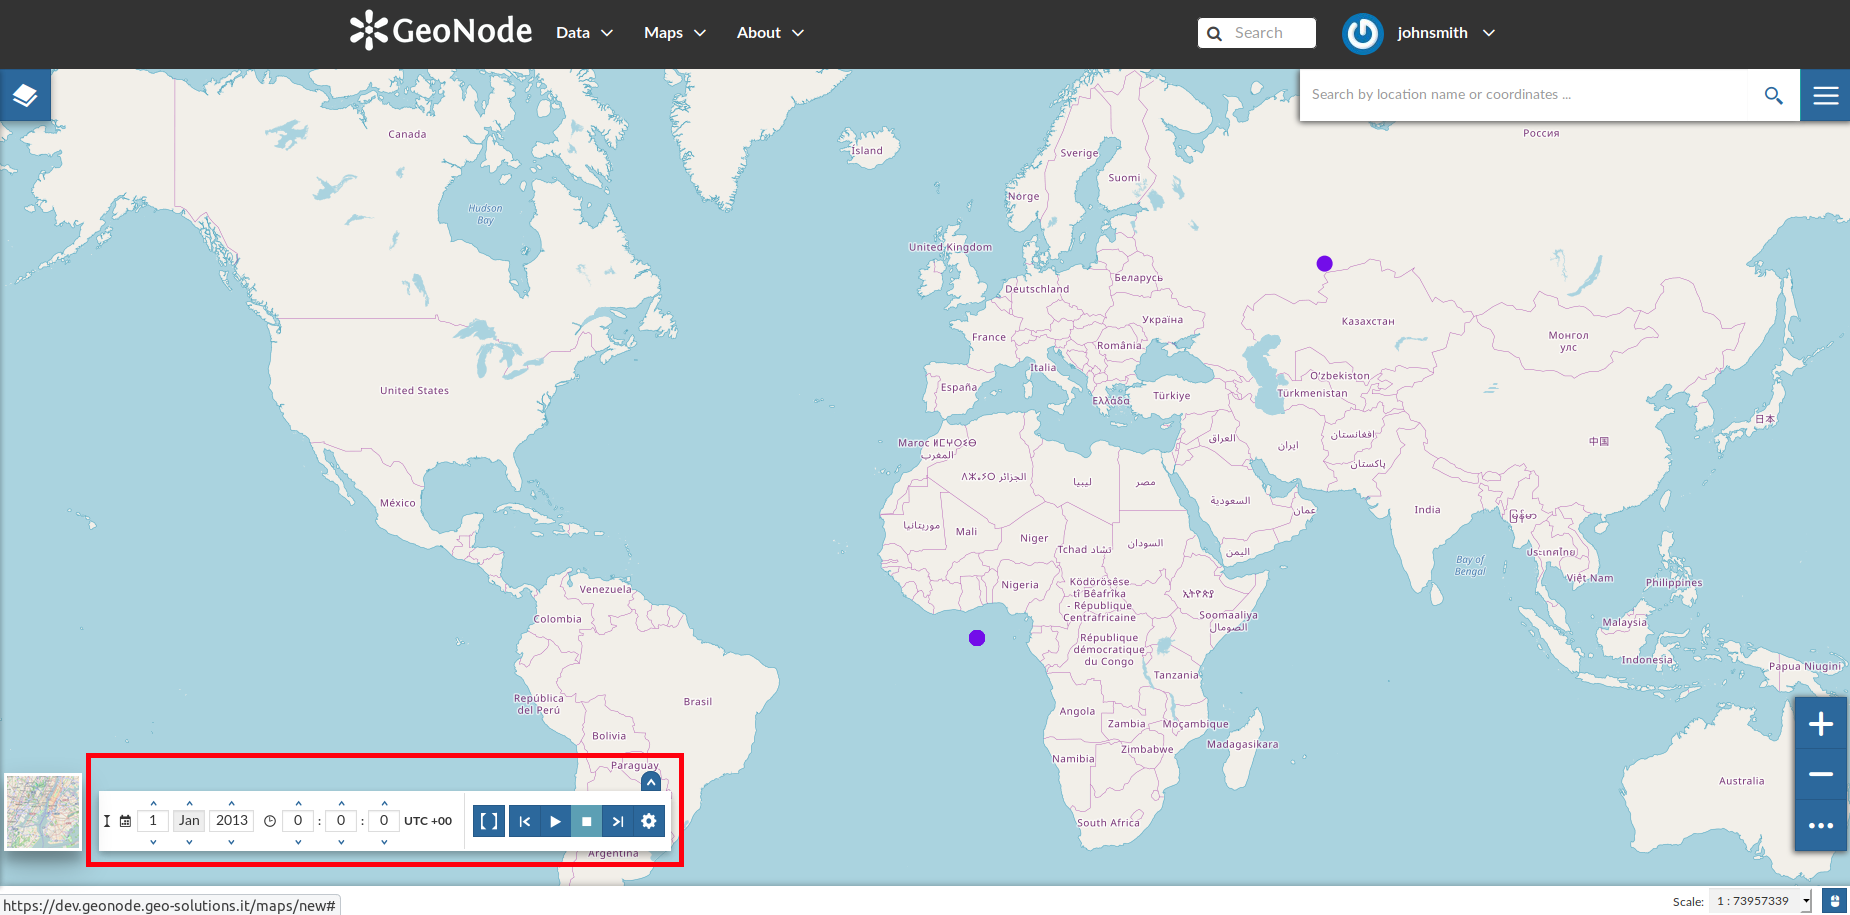
When loading a temporal layer into the map, the Timeline opens automatically.
The Timeline
On the left side of the Timeline panel you can set the time value in which you want to observe the data. You can type it directly filling out the corresponding input fields or by using the up/down arrows.

The Time Control Buttons
 , go back to the previous time instant through
  , go forward to next time step using
  and stop the animation by clicking
  .
.
The Animation Control Buttons
The Timeline panel can be expanded through the  button.
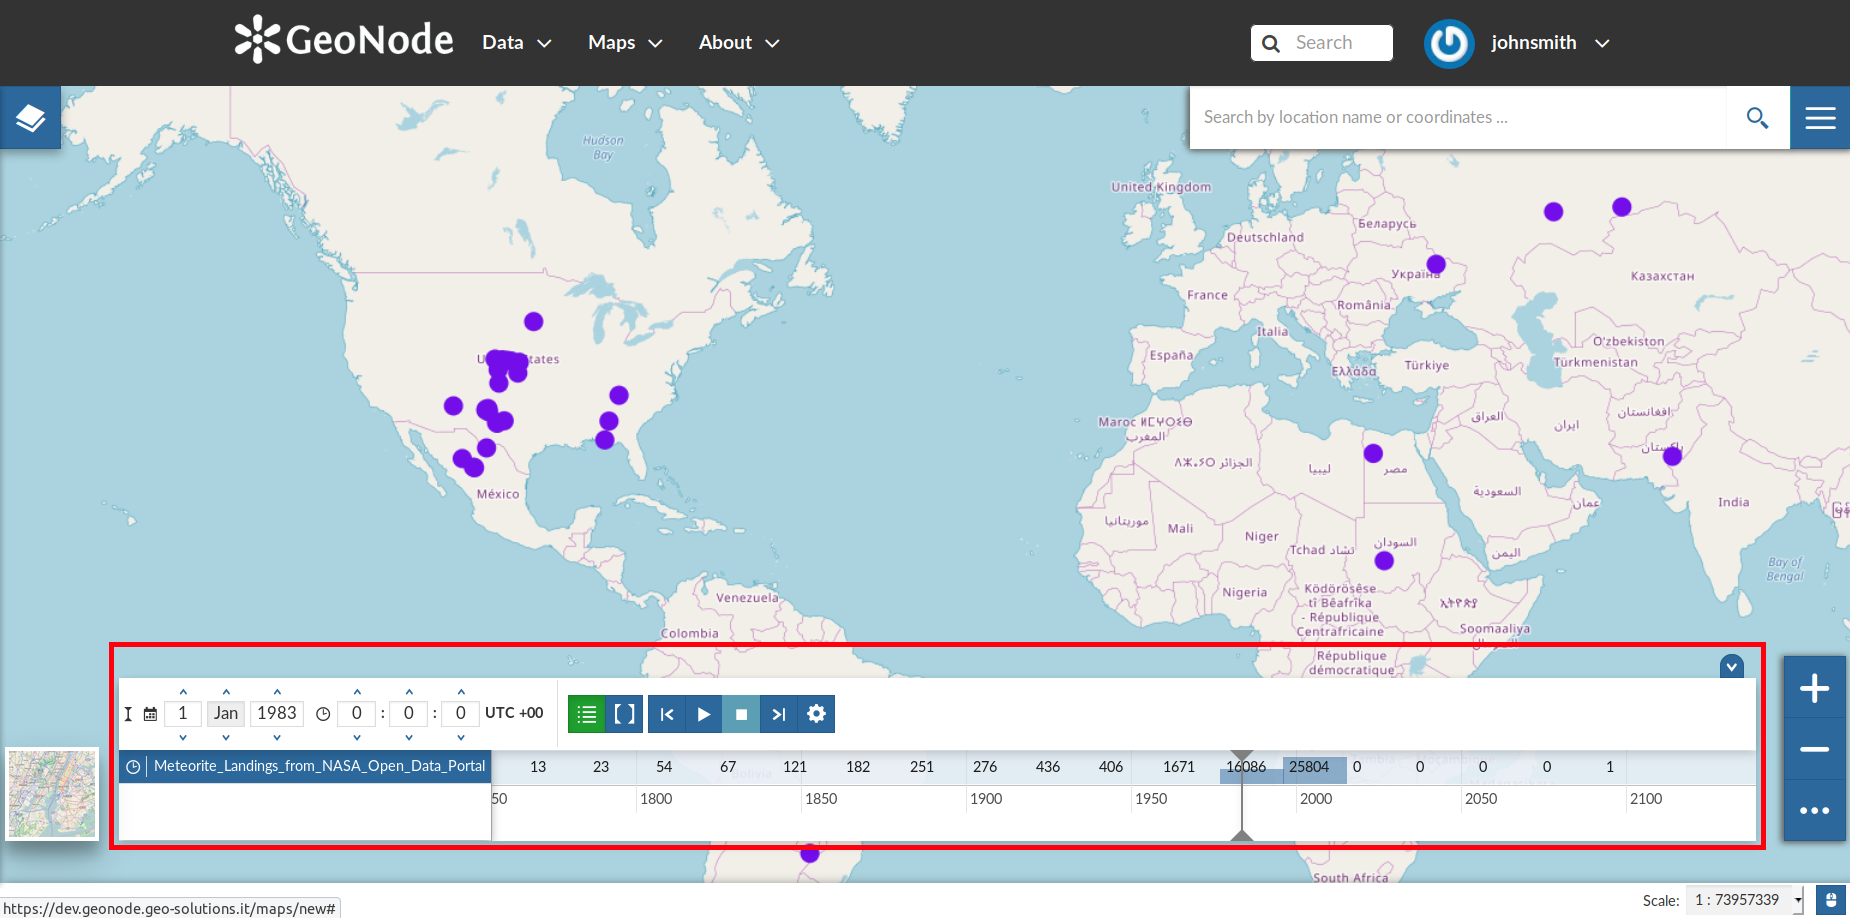
The Expanded Timeline
The expanded section of the Timeline panel contains the Time Layers List and an Histogram which shows you:


You can show/hide the layers list by clicking  (it is active by default).
Through the Time Range function you can observe the data in a finite temporal interval.
Click on  and set the initial and the final times to use it.

The Time Range Settings
Animations
.
The layer data displayed on map will change accordingly to the time reach by the cursor on the Histogram.By clicking on  you can manage some Animation Settings.
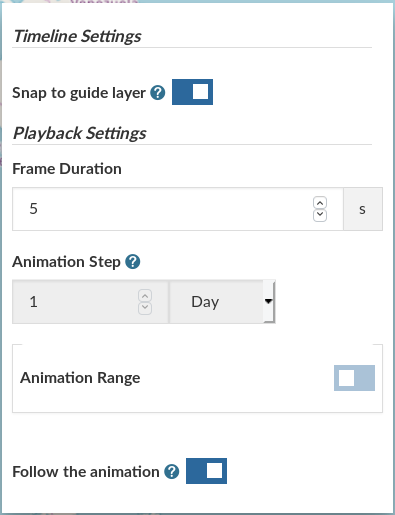
The Timeline Settings
The Animation Range option lets you to define a temporal range within which the time cursor can move. See the following gif to better understand how the Animation works or take a look at the MapStore Documentation.
The Timeline Animation